
A beginner's guide to setting up AWS CLI with Terraform
Supercharge Your Cloud Management with AWS CLI and Terraform


Table of contents


No headings in the article.
I recently acquired a new laptop and have been in the process of configuring my development environment. I believe it's important to share this process, as it might benefit newcomers preparing to set up their computers.
To start, I ensured that my Ubuntu machine was up to date by running the following commands:
sudo apt update
sudo apt upgrade
Once I had my system updated, I proceeded to install Terraform. I visited Terraform's official website and followed their installation instructions to get the latest version, which as of my last update in September 2023 is version 1.5.7.
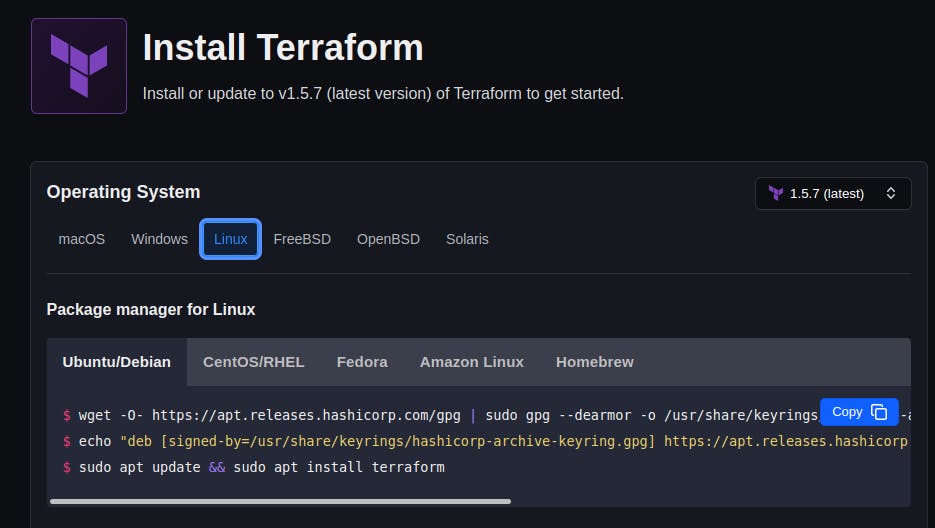
So I ran the commands;
wget -O- https://apt.releases.hashicorp.com/gpg | sudo gpg --dearmor -o /usr/share/keyrings/hashicorp-archive-keyring.gpg
echo "deb [signed-by=/usr/share/keyrings/hashicorp-archive-keyring.gpg] https://apt.releases.hashicorp.com $(lsb_release -cs) main" | sudo tee /etc/apt/sources.list.d/hashicorp.list
sudo apt update && sudo apt install terraform
The provided code installs HashiCorp's Terraform on a Unix-like system:
It downloads HashiCorp's GPG key, converts it to text format, and stores it as
/usr/share/keyrings/hashicorp-archive-keyring.gpg.It adds a repository configuration for HashiCorp packages to the system's package sources, including the GPG key for package verification.
It updates the package lists and installs Terraform from the HashiCorp repository. This sequence ensures a secure and up-to-date Terraform installation on your system.
To verify the installation of Terraform run this command:
terraform --version
You should see a result similar to this if Terraform is successfully installed on your machine

Now that we have Terraform installed, we can proceed to install AWS CLI and configure it so we can start using Terraform as our IAC tool for AWS.
If you don't have an AWS account, visit the AWS official website to create one.
Then, go to this official doc and choose your OS to follow the installation guide.
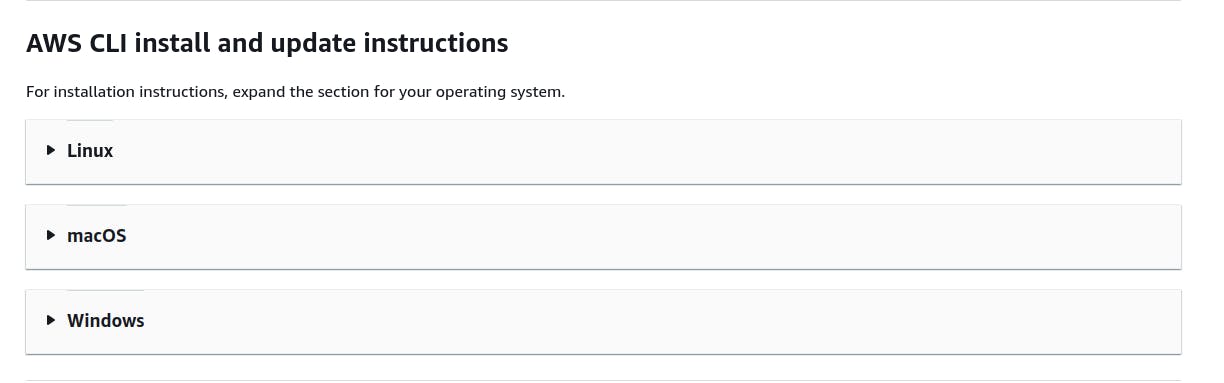
After that, confirm your installation with;
aws --version
You should see something like this;

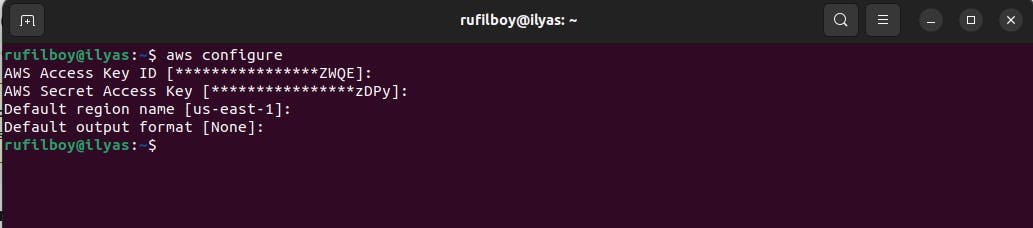
Now let's get our credentials from AWS, avoid using the root user of your account for this task; instead, employ an IAM user with precisely the required permissions. This is a recommended practice.
Upon logging into my account using this user, I located the necessary information for configuring Terraform to create the desired resources. Please familiarize yourself with where this information is stored in AWS, and consider securely storing it. If you download and retain the .csv file, ensure you know its location or can regenerate the data.
Take care of this file diligently, as unauthorized access could result in unauthorized resource provisioning and substantial charges to your account. It's essential to have a billing alert in place; if you haven't already, please set one up without any delay. There should be no excuses for not having this safeguard in place.
Executing it should yield the following outcome once the configuration is completed.
Now let's create AWS S3 to test if it's working perfectly;
After writing the shortcode to create an S3 bucket I ran the terraform plan command to show us the plan for the resources to be created

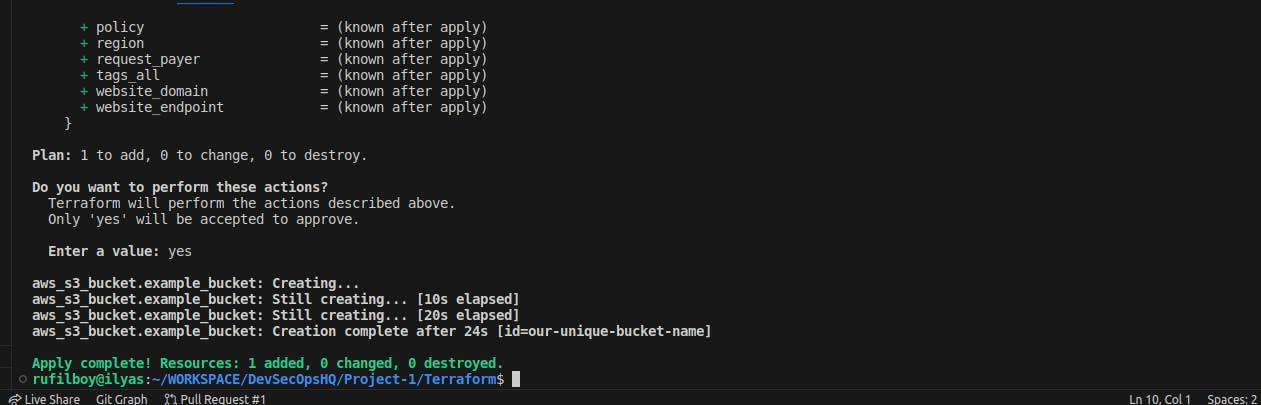
Then let's run terraform apply to create the resource, you can add --auto-approve to it or manually approve it by yes.
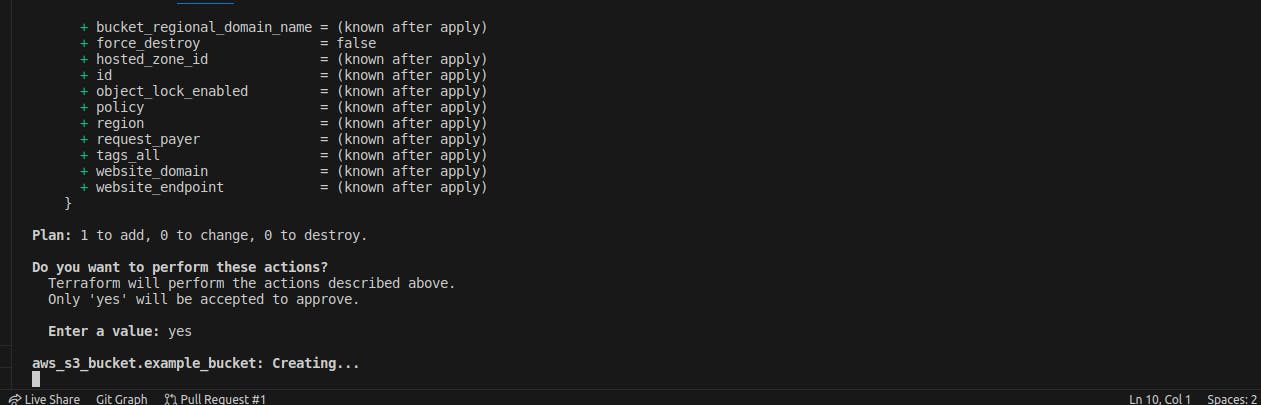
After approving the resource creation with yes, you can see that our resources now carry creating... status
Now that we've our AWS S3 created, let's confirm on the AWS Console
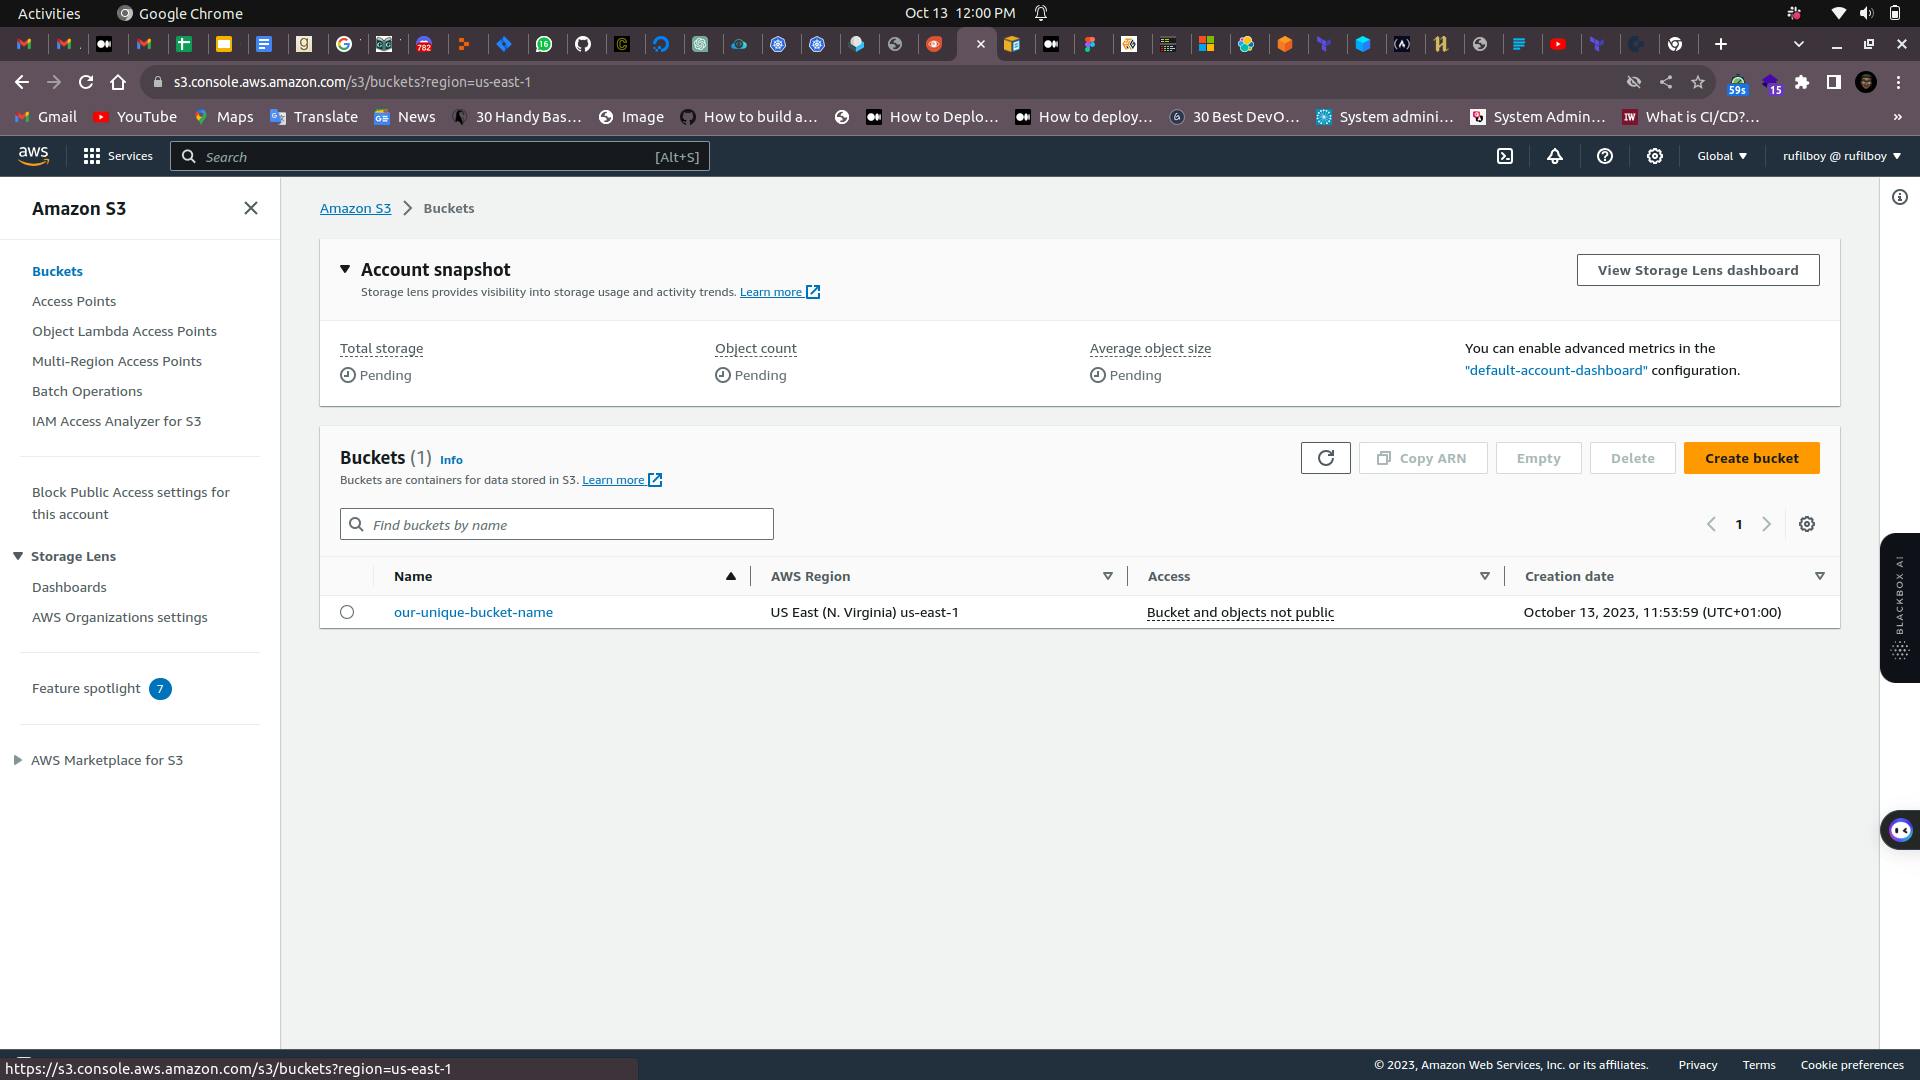
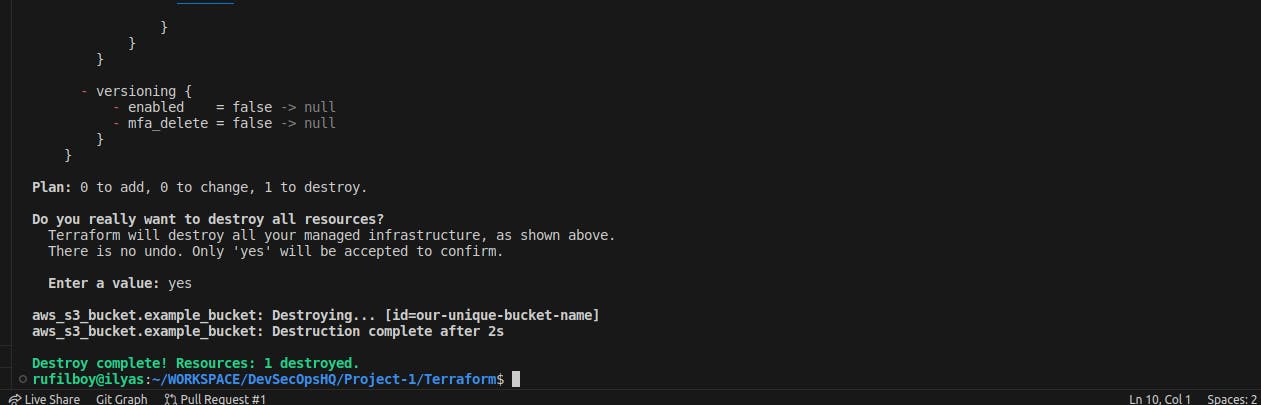
Boom our S3 bucket is created successfully. Now, let's destroy it again using our terraform command; terraform destroy with --auto-approve or input yes.
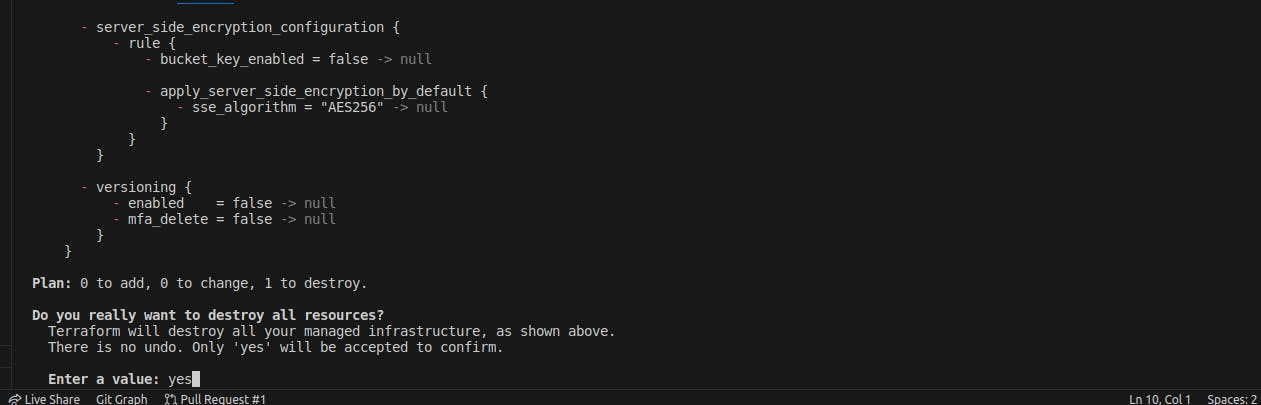
I choose to use yes instead
That's it for this guide you can drop your question in the comment section if you have any questions, Thanks